Image Recognition
Image recognition is a key component of AR: it enables you to interpret the real world and respond to it accordingly. This guide provides an overview of Viro's image recognition capabilities.
Image Targets
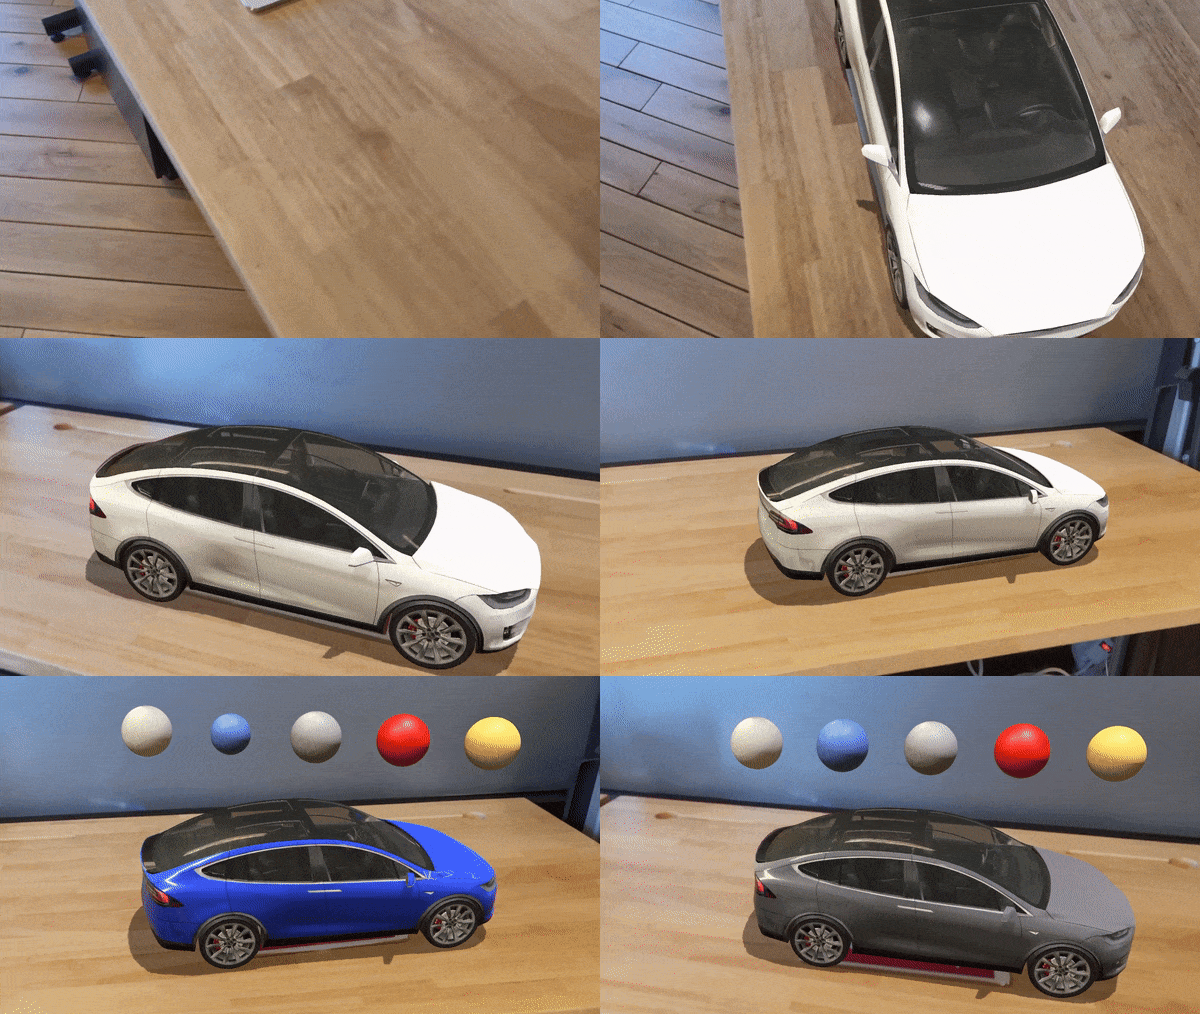
Image targets are the reference images that Viro will recognize and track. For example, if you provide an image target of a Tesla logo, then every time your application encounters a Tesla logo you can get a callback; and in that callback, you can create virtual UI about the logo. An example of this is below:

Image targets in Viro are represented by ViroARTrackingTargets. You can construct these targets out of any image (JPG, PNG, etc.). To start searching for the logos, add a component to your <ViroARScene> or to any <ViroNode>. When Viro detects the image in the user's world, the content of the <ViroARImageMarker> will be rendered. The <ViroARImageMarker> will be continually tracked and will stay synchronized with the detected image. Below is an example of simple usage:
// In your render function, add an image marker that references the target
<ViroARScene>
  <ViroARImageMarker target={"targetOne"}>
    <ViroBox position={[0, .25, 0]} scale={[.5, .5, .5]} />
  </ViroARImageMarker>
</ViroARScene>

// Outside of the render function, register the target
ViroARTrackingTargets.createTargets({
  "targetOne": {
    source: require('res/targetOne.html'),
    orientation: "Up",
    physicalWidth: 0.1 // real world width in meters
  },
});
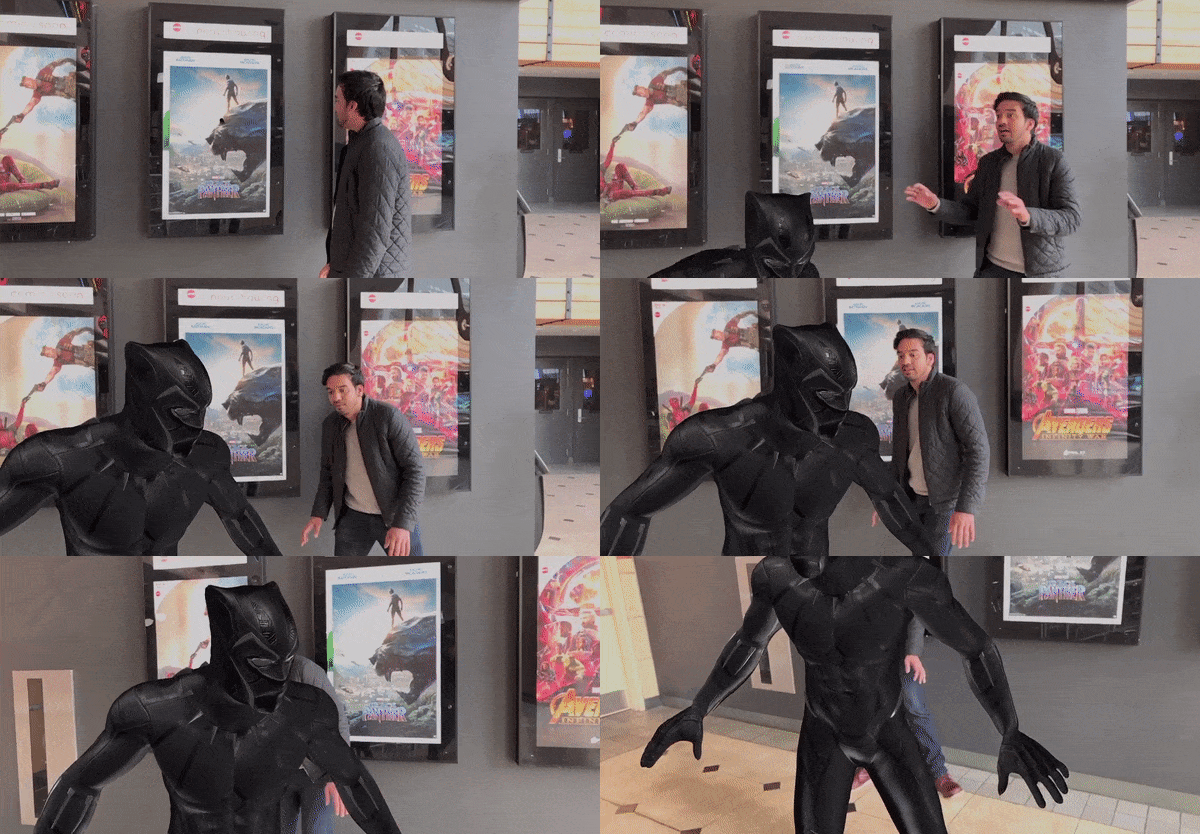
In the more complex example below, we do this with a "Black Panther" movie poster. Upon detecting the poster, we load a 3D object representing the Black Panther, and make him jump out of the poster.
// In your render function:
<ViroARScene>
  <ViroAmbientLight color="#ffffff" intensity={200} />
  <ViroARImageMarker
    target={"poster"}
    onAnchorFound={this._onAnchorFound}
    pauseUpdates={this.state.pauseUpdates}>
      <ViroNode
        position={[0, -.1, 0]}
        scale={[0, 0, 0]}
        rotation={[-90, 0, 0]}
        dragType="FixedToWorld"
        onDrag={() => { }}
        animation={{
          name: "scaleModel",
          run: this.state.playAnim
        }}>
      <Viro3DObject
        onLoadEnd={this._onModelLoad}
        source={require('./res/blackpanther/object_bpanther_anim.vrx')}
        position={[0, -1.45, 0]}
        scale={[.9, .9, .9]}
        animation={{
          name: "01",
          run: true,
          loop: false,
          onFinish: this._onFinish
        }}
        type="VRX" />
    </ViroNode>
  </ViroARImageMarker>
</ViroARScene>

//Outside the render function:
ViroARTrackingTargets.createTargets({
  "poster": {
    source: require('res/blackpanther.html'),
    orientation: "Up",
    physicalWidth: 0.6096 // real world width in meters
  }
});
The full code for this sample is contained in the Viro Samples repository. The final result will look like this:

Continuous Image Tracking (iOS 12 Only)
ARKit 2.0 introduced a new API that enables continuous Image Tracking instead of simply image detection. This enables your marker to be tracked and followed smoothly as the user moves it around.
This is exposed in ViroARSceneNavigator's new numberOfTrackedImages property which takes in a number of images that should be tracked concurrently. For example, if this number is set to 3, then the first 3 images visible in a scene will be tracked. Even if there are 5 total ViroARImageMarkers only the first 3 will be tracked, if one marker leaves the view, then an untracked marker will then be tracked. Keep in mind that this number should be kept low as the higher the number, the worse the performance.
Image Target Quality
Google has released a tool (for OSX and Windows) to check the quality of Image Targets, check it out on their website here:
https://developers.google.com/ar/develop/c/augmented-images/arcoreimg
This tool provides a good baseline for Image Recognition on both iOS and Android
Updated almost 4 years ago