Quick Start (Mac/Linux)
This guide is deprecated
Quick start guide to get you setup and developing AR/VR applications in 10 mins! (No Xcode or Android Studio required)
Prerequisites
AR (iOS)
- OSX computer or Linux computer
- iOS Device with A9 chip or higher and running iOS 11 or higher.
AR (Android)
- OSX/Linux computer
- An ARCore supported device
VR
- OSX or Linux computer
- Recent Android or iOS Device (Android requirements: Android 5.0+ w/ gyroscope support and OpenGl ES 3.0, iOS requirements: iOS 9.0+)
- Cardboard headset (you can find some QR codes here)
1a. [OSX ONLY] Install Dependencies - Homebrew, Node and Watchman
Our recommended way of installing the dependencies on OSX is to use Homebrew, but you can use whatever you want as long as both node and watchman are installed and in your PATH.
Install Homebrew by running the following command in your terminal:
/usr/bin/ruby -e "$(curl -fsSL https://raw.githubusercontent.com/Homebrew/install/master/install)"
Install Node by running the following command in your terminal:
brew install node
Install Watchman by running the following command in your terminal:
brew install watchman
1b. [LINUX ONLY] Install Dependencies - Node and Watchman
Use your local package manager to install node and watchman
Common Linux Flavors (you may need to sudo before each command):
Ubuntu, Mint, Debian, etc
apt-get install node
apt-get install watchman
Fedora, RHEL, CentOS, etc
yum install node
yum install watchman
2. Install React Native Command Line Interface
Install React Native CLI by running the following command in your terminal:
npm install -g react-native-cli
3. Install ViroReact Command Line Interface
Now install the ViroReact CLI by running the following command in your terminal:
npm install -g react-viro-cli
4. Generate ViroSample project
In your terminal, navigate to where you want to create your ViroReact project, run:
react-viro init ViroSample --verbose
Terminal should say: "Installing react-viro package from npm...". The installation may take a couple mins, so proceed to the next step while it completes.
Using Yarn?
If you're using yarn, then run the two following commands to install the
node_modules
cd ViroSample
yarn install
5. Download the Viro Media Testbed App
Install the Viro Media app from the app store on your device. The app is free.
iOS
Viro Media App
Android
Viro Media App
If you're using Android AR...
The first time you start AR, you'll be prompted to download the ARCore APK.
Google's ARCore, and consequently, Viro, only works on the following devices.
6. NPM Start
From the root of your project, run the command: npm start to start the packager server.
7. Open Hello World in Testbed App
- Open the Viro Media App on your iOS or Android device.
- Tap on the menu icon in the top left and tap on "Enter Testbed".
- Find your ngrok url (https://xxxxxx.ngrok.io) which is printed at the top of the terminal window where you ran
npm start. Enter that into the empty text field on the Testbed screen (xxxxxx.ngrok.io) and press "Go".
Known Issue for possible Red Screen Error
If you get a red screen when trying hello world that references "babel-preset-react-native", this is a known issue with React Native -> https://github.com/facebook/react-native/issues/18962
To Resolve:
Open your package.json file located under [Your Project Name]. Open it with your text editor.
Change
"babel-preset-react-native": "5.0.0",To
"babel-preset-react-native": "4.0.0",Terminate the
npm startprocess. Then runnpm installfrom your project directory. Once installation has completed, run 'npm start' again and restart/reload your testbed app.
NGROK ISSUES
If you do not see the ngrok address in your terminal, open a new tab, navigate to your workspace and then run
./node_modules/react-viro/bin/run_ngrok.shOr, from your browser, navigate to:
http://localhost:4040/status
If ngrok isn't already running, you can start it by running the follow command in your terminal (anywhere should work):
ngrok http 8081
9. View Hello World in Testbed App
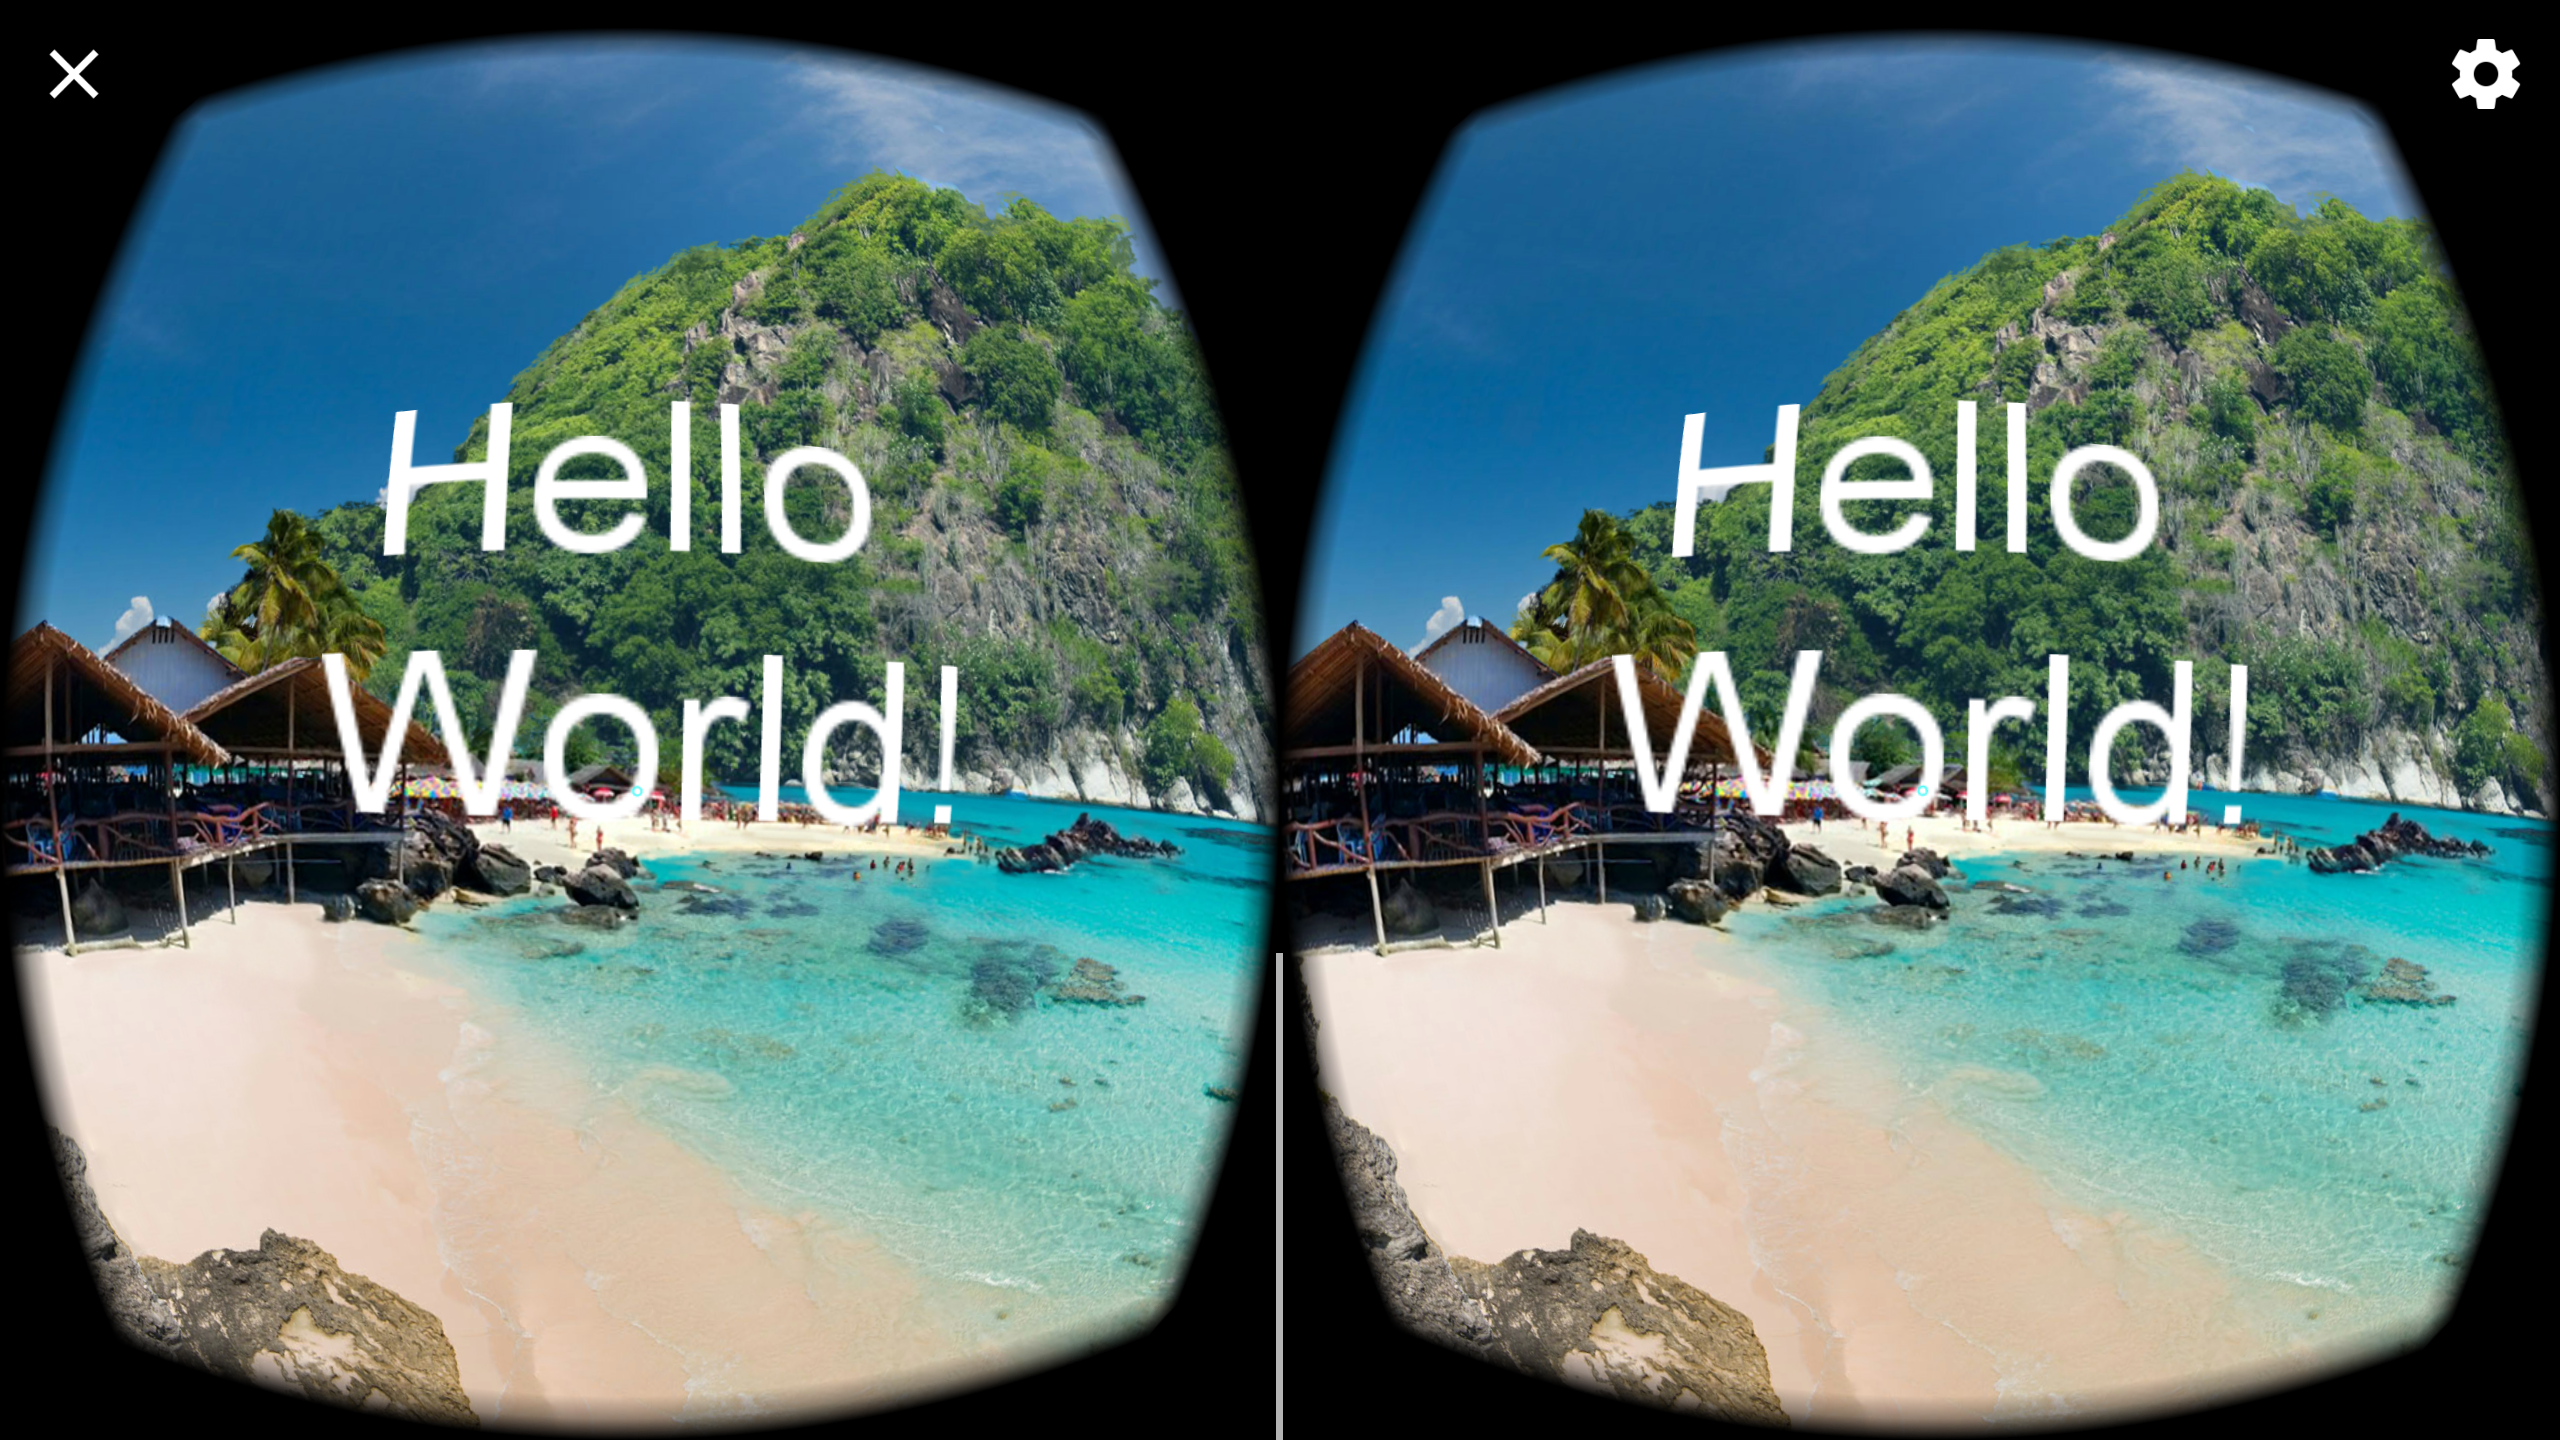
Android users will see a 360 degree photo of a beach with the text "Hello World!" in front of you. iOS users will see a menu screen "Choose Your Desired Experience" with 2 options: AR or VR. Tap VR to get to the 360 beach Hello World scene.

If you tap on AR, you will be taken to HelloWorldSceneAR.js and see text that says "Initializing..." and then changes to "Hello World".
Having issues?
If you are having issues loading either scene, try shaking the device until a development menu appears and hit "Reload", double-check that the ngrok URL entered was correct or try using your computer's local IP address (your phone will need to be on the same network).
If you're still having issues, we encourage you to contact us through the Issues or Support links at the top of the documentation.
Congratulations, you now have ViroReact set up and running!
Next Steps/Other Resources
- Want to learn more about ViroReact? Check out our tutorials:
- Tutorial VR or Tutorial AR where we go through how to modify the Hello World Scenes.
AR Tutorial Blog Posts
- How to build an interactive AR app in 5 mins w/ React Native & Viro AR
- How to build AR Portals in 5 mins w/ React Native & Viro AR
- Add Snapchat-like AR Lenses to any app w/ Viro AR in React Native
- How to use Particles to enhance your AR app using ARKit & React Native
VR Tutorial Blog Posts
- New to React Native? Check out the React Native Tutorial which goes over some basic concepts of React Native which we leverage.
- Check out our code samples on Github to see what else you can build with ViroReact -> Viro Github
Updated about 2 months ago